Build your first workflow
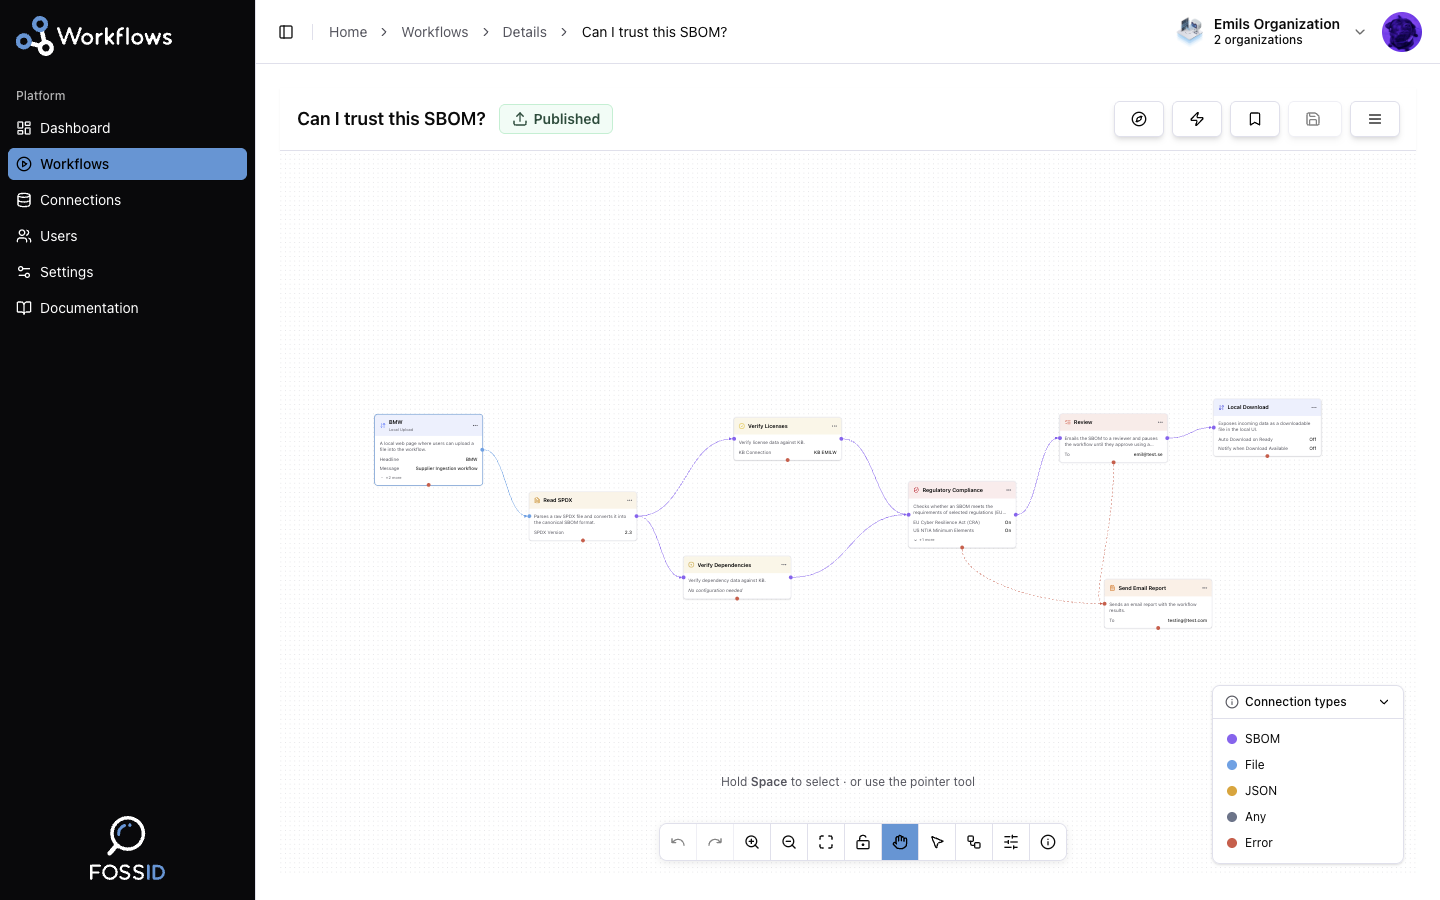
This guide builds the Can I trust this SBOM? pipeline by hand. You could pick it straight off the template list — and normally you would — but assembling it yourself is the fastest way to understand what each piece does.
When you are done you will have a workflow that accepts an SBOM, verifies its licenses, checks it against regulations, produces a PDF of the findings, and emails you if anything goes wrong.
Local Upload → Read SPDX → Verify Licenses → Regulatory Compliance
             → Generate PDF Report
                       │
                       └─ (failure path) → Send Email Report
Before you start
Verify Licenses checks against the FossID Knowledge Base, so you need a Knowledge Base connection. Set one up first — see Setting up connections.
1. Create the workflow
Go to Workflows and create a new one, choosing Create My Own Workflow to start from an empty canvas. Give it a name that says what it does.
2. Add the upload page
Open the node palette and add Local Upload from the Import/Export category. This is what the workflow starts from: it gives the workflow its own page where people can submit files.
Select the node to open its configuration and set a Headline and Message so submitters know what they are being asked for — something like "Upload your SBOM" and "We will check it against EU CRA and NTIA requirements."
3. Parse the file
Add Read SPDX and connect the upload node's right handle to it. (Use Read CycloneDX instead if that is the format you receive — everything after this point is identical either way.)
This step is not optional. What comes out of an upload is an opaque file —
nothing has looked inside it yet. The reader parses it into the canonical SBOM
format that every subsequent node works with, and canonicalizes license strings
into SPDX expressions as it goes. Set the version parameter to match the files
you expect.
4. Verify the licenses
Add Verify Licenses and connect Read SPDX to it, then pick your Knowledge Base connection.
Declared licenses are frequently wrong — omitted, guessed, or copied from a previous release. This step checks them against FossID's reference data and annotates what does not hold up.
5. Check compliance
Add Regulatory Compliance and connect Verify Licenses to it.
EU CRA and NTIA checks are on by default; turn on CISA 2025 as well if you need it. The node does not block anything — it annotates the SBOM with an error for each missing mandatory element and a warning for each missing recommended one.
6. Produce a report
Add Generate PDF Report and connect Regulatory Compliance to it.
The defaults include errors, warnings, policy violations, and reviewer comments — which is exactly what the previous two steps produced.
7. Catch failures
Any node can fail. Rather than have a run stop silently, add a Send Email Report node and connect to it from Regulatory Compliance's bottom handle — the failure path — and set To to your own address.
Connecting from the bottom rather than the right is the whole distinction: that branch only runs when the node fails, and it carries the error details rather than the SBOM.
8. Publish
Check the validation indicator. If the workflow is not valid, it will tell you what is wrong — an incompatible connection, a required parameter left empty, or a node not connected to anything. Fix those first.
Then publish. The workflow moves from draft to published, and it can now be triggered.
9. Run it
Open the workflow's upload page and submit an SBOM. That creates an execution.
Go to the workflow's details page and watch it: each node reports its own status as the run moves through the pipeline, and the view refreshes on its own. When it finishes, download the outputs — including the PDF from the last step.
What to try next
- Add Normalize Data after the reader to canonicalize component names, versions, and identifiers against the Knowledge Base before anything else looks at them. Not required, but it improves what the later steps can match.
- Add Write SPDX or Write CycloneDX to emit a cleaned-up file alongside the report. Branch it off the same node as the compliance check — both run from the same input.
- Insert a Review step before the report so a person signs off first. See Reviewing and approving.
- Finish with Database Update to store results somewhere permanent.
Related
- Starting from a template — the same pipeline, ready-made.
- Node reference — every node and its settings.
- Edges and data flow — success and failure paths in detail.
- Troubleshooting — if the run does not behave.